Image Studio Settings: Aspect Ratio, Styles, Lighting and Camera
How to set Image Studio controls for better generations: model, aspect ratio or image size, resolution, number of images, styles, lighting, camera angles, poses, and Enhance Prompt.
Better stills in Image Studio come from the sidebar, not a longer prompt. Model, frame, style, lighting, camera, and count change the output more than another adjective. The prompt names the subject. The settings lock format and look.
Not every tool shows every control. Text to Image has the full set. Realtime, Try On, and Creative Upscale hide styles. Image Editor has no generation sidebar at all.
Frame: aspect ratio, image size, resolution#
The model decides which frame control you get.
- Aspect Ratio when the model lists ratios. Common options include 1:1, 3:2, 2:3, 4:3, 3:4, 9:16, and 16:9. Set this to the channel before you generate. A 1:1 square will crop badly into a 9:16 reel.
- Image Sizes when the model uses canvas presets (square, portrait, landscape) instead of ratios.
- Resolution when the model exposes it (for example 1K vs 4K). Use the lower size until the prompt and look are right. Pay for 4K on the approved take.
Change the frame first. Changing ratio after you like a composition is a new generation, not a crop.
Styles, lighting, camera#
These three presets append a look to the prompt. They are optional. Leave them unset when the prompt already specifies style, light, and lens.
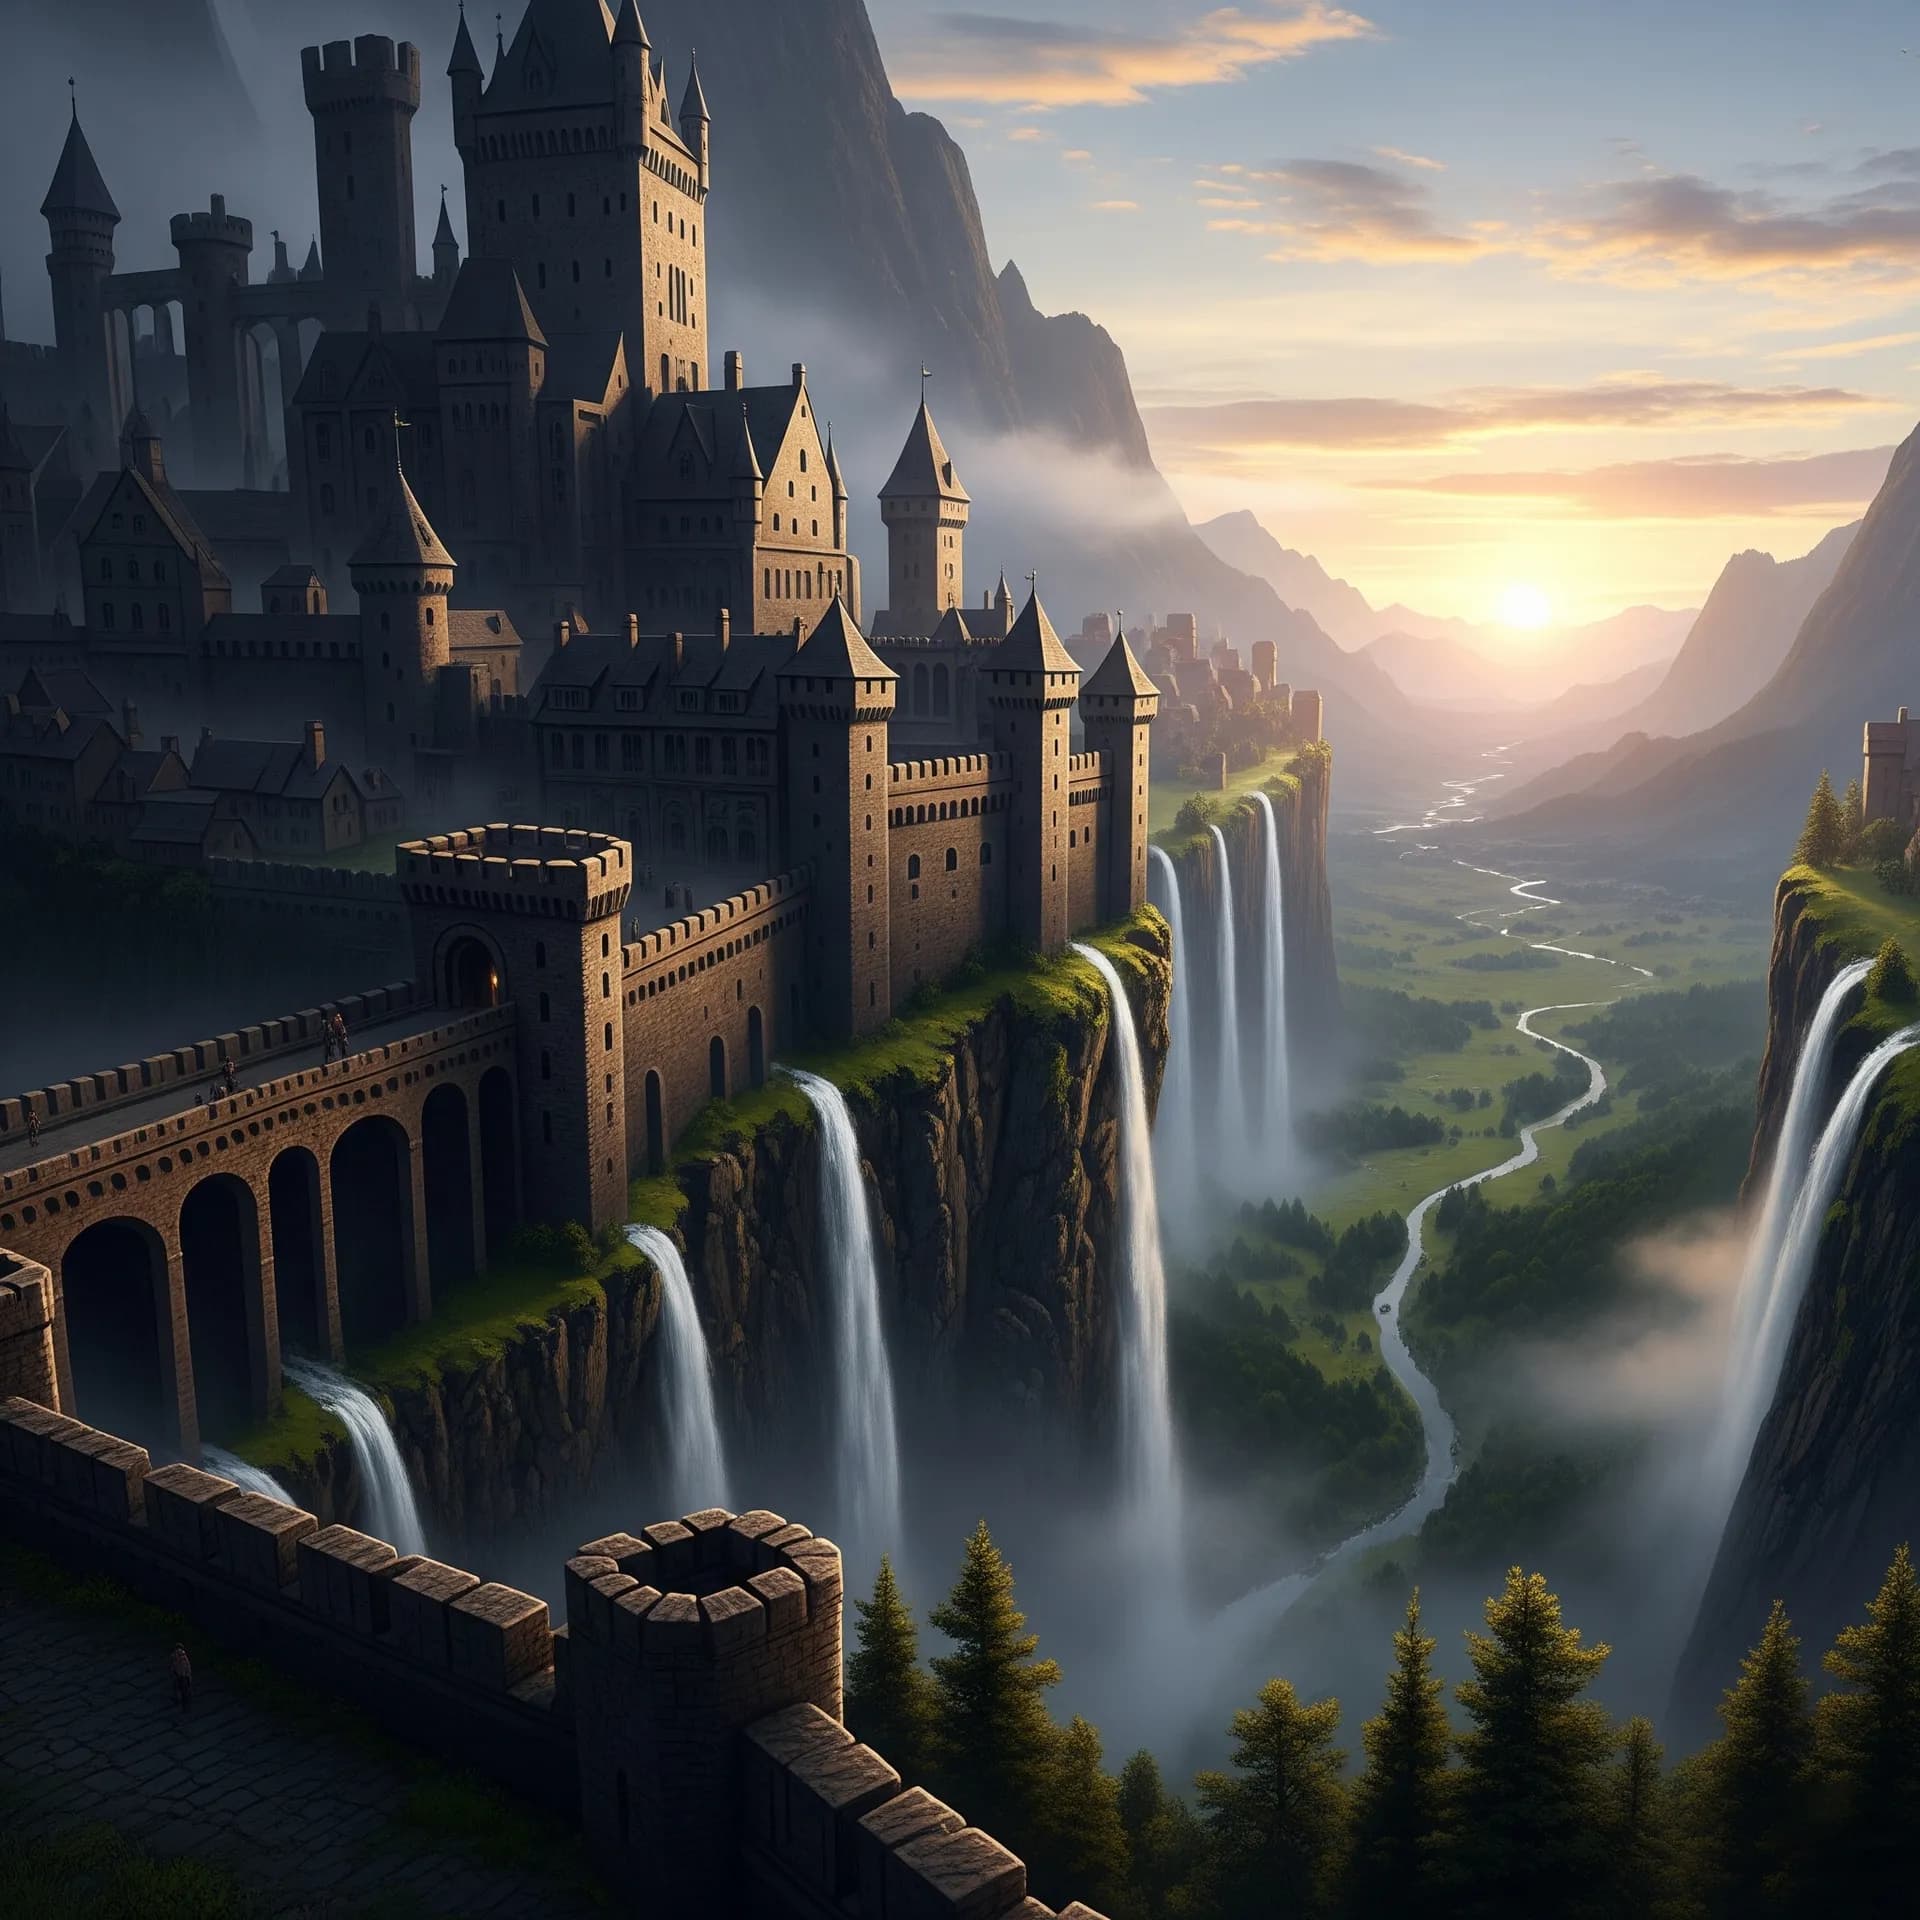
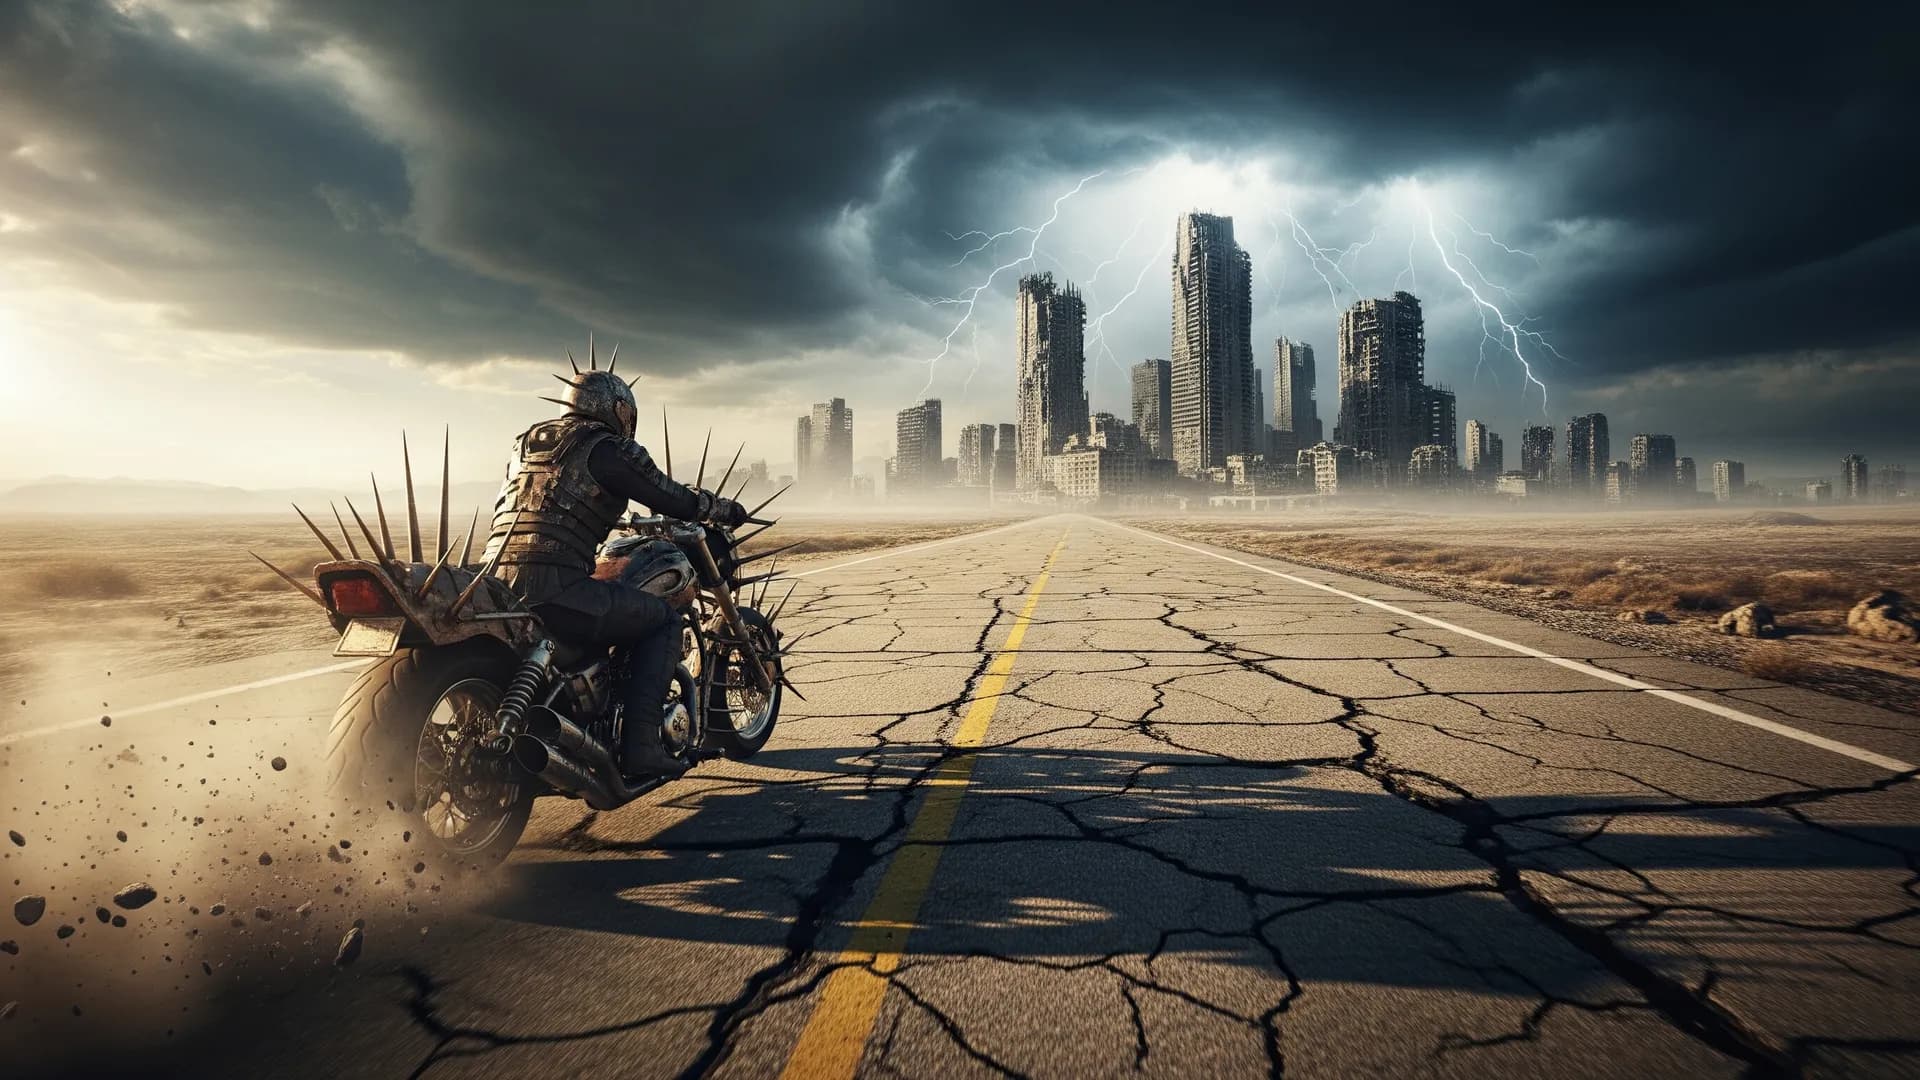
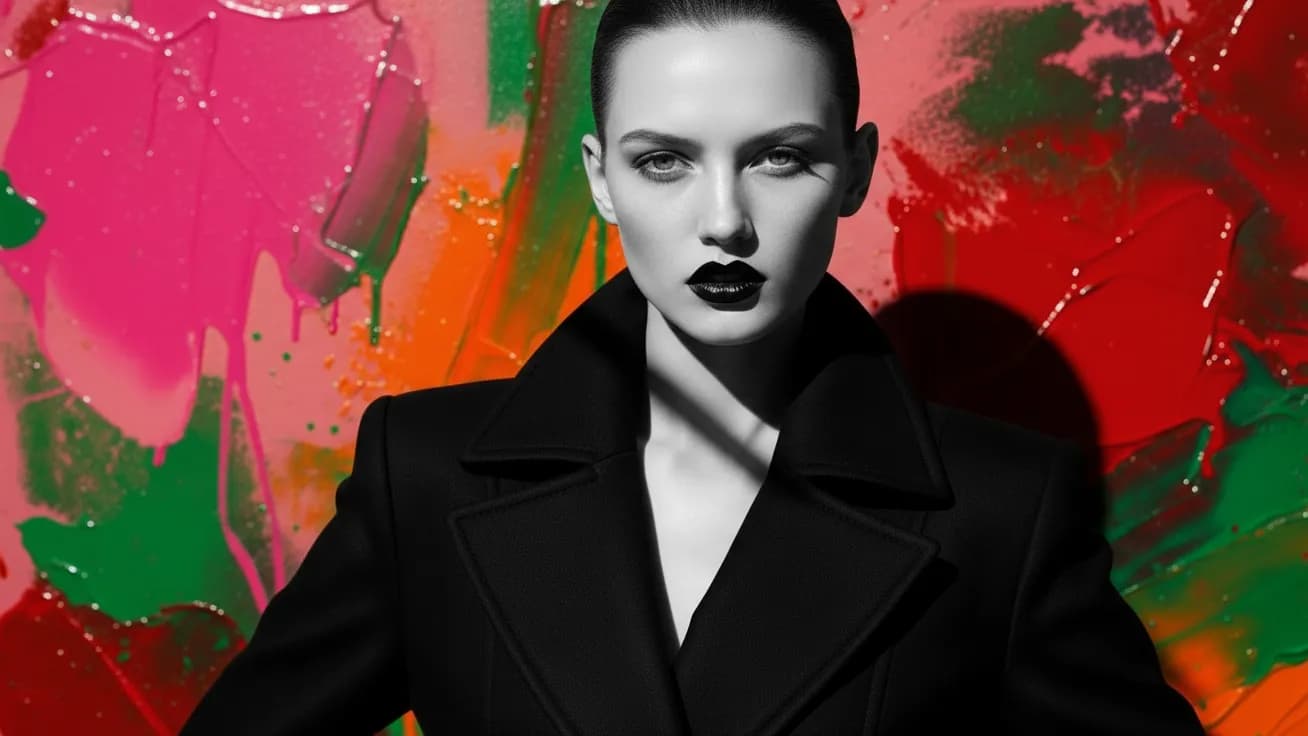
Styles: Anime, Cyberpunk, Studio Portrait, Vector Art, Oil Painting, Pixel Art, Fantasy Concept Art, Disney, Comic, Post Apocalyptic, Glitch Art, Abstract.
Lighting: Studio Lighting, Hard Light, Golden Hour, Moonlight, Rim Lighting, Rembrandt, Neon Glow, Ambient Occlusion, UV - Black Lighting, Backlit Silhouette, Split Light.
Camera Angles: Eye-Level, High Angle, Low Angle, Over-the-Shoulder, Bird’s Eye View, Dutch Angle, Close Up, Full Body, Depth of Field, Tilt-Shift.
Do not stack a style that fights the prompt. “Photoreal product on white sweep” plus Pixel Art wastes a run. Pick one look control, generate, then add lighting or camera if the mood is still off.
Number of Images and Enhance Prompt#
Number of Images is 1, 2, 3, or 4. It only appears when the selected model allows more than one image. Keep it at 1 until the prompt, frame, and look work. Then raise the count to pick a winner.
Enhance Prompt expands a short idea before generation. Turn it on for a vague sketch. Turn it off when you already wrote a precise brief, or when the expander keeps adding props you did not ask for.
What each Image Studio tool actually shows#
- Text to Image: Model, Aspect Ratio or Image Size or Resolution, Styles, Lighting, Camera, Number of Images (if the model allows it), Enhance Prompt. This is the default generator.
- Realtime Generation: Aspect Ratio or Image Size only. No styles, count, or enhance. Use it to find composition, then recreate the prompt in Text to Image.
- Creative Upscale: Aspect Ratio / Image Size / Resolution, Number of Images, Enhance Prompt. Model is fixed. Prompt what to preserve, not a new scene.
- Image Editor: Canvas tools (crop, retouch, inpaint). No generation sidebar. Desktop only (1001px and up).
- Headshot: Aspect Ratio / Resolution, Styles, Lighting, Camera. Model is fixed. Prompt wardrobe and backdrop, not a new face.
- PNG without BG: Aspect Ratio / Image Size. Prompt mode can also show Number of Images and Enhance Prompt. Image mode is a cutout; prompt mode can invent a new background.
- Custom Model: Aspect Ratio / Image Size / Resolution, Styles, Lighting, Camera. The trained model is the engine. Count and Enhance Prompt are hidden.
- Product Photography: Aspect Ratio / Image Size / Resolution, Styles, Lighting, Camera, Enhance Prompt. No image count. Prompt scene and light. Let the upload define the SKU.
- Recompose: Aspect Ratio / Image Size, Styles, Lighting, Camera, Number of Images, Enhance Prompt. Upload 1–3 references. Prompt the new camera and setting.
- Try On: Aspect Ratio / Image Size, Number of Images. No styles or enhance. Character image and clothing image are required. Character Pose is optional on the canvas, not in the sidebar.
Try On poses: Front Facing, Back Facing, Left Side, Right Side, 3/4 Front/Left, 3/4 Front/Right, 3/4 Back/Left, 3/4 Back/Right, Top Down / Bird’s Eye, Walking, Running, Jumping, Sitting, Standing, Profile Upper Body, Hands On Hips, Arms/Relaxed, Adjusting Dress, 360 Rotation, Close Up Front, Close Up Back, Zoom Detail, Over the Shoulder, Sitting Side/Profile, Close Up Legged / Casual. Skip pose to keep the character’s original stance.
Order that actually improves the still#
- Pick the tool for the job. Text to Image for a new frame. Product Photography for a SKU. Headshot for a face. Try On for a garment.
- Set the model when the tool has one.
- Set aspect ratio or image size to the channel.
- Write subject, setting, and any on-image text. Keep Number of Images at 1.
- Add one of style, lighting, or camera if the look is still generic.
- Generate. Change one control per retry.
- Finish in Image Editor or Creative Upscale. Send the approved still to image to video if you need motion next.
Try this in Arttribe
Open the matching studio and run the workflow from this article.
Open Image Studio