How to Build an AI Creative Workflow From Idea to Final Asset
A repeatable workflow for turning one creative brief into AI-generated images, video, music, and voice without losing consistency.
The most efficient AI creative workflow does not begin with generation. It begins with a brief. Decide what the final asset needs to communicate, then work backward into the images, motion, music, and voice required to produce it. This prevents creators from generating large amounts of content before they understand what the final project actually needs.
A good workflow also separates decisions that need to be made early from decisions that can remain flexible. Platform, aspect ratio, audience, and core visual direction should be established early, while individual music variations, camera movements, and voice takes can remain adjustable until later.
Step 1: Define the final deliverable#
Choose the platform, aspect ratio, duration, audience, and purpose before generating. A YouTube thumbnail, product advertisement, Instagram Reel, and cinematic concept require different outputs. Defining these constraints first helps every later generation move toward a specific target rather than producing disconnected assets.
Also define what success looks like. Decide whether the most important factor is product accuracy, visual impact, storytelling, conversion, entertainment, or speed. This gives you a practical way to judge model outputs and avoid spending time improving details that do not matter to the final deliverable.
Step 2: Create the visual anchor#
Generate the key image or frame first. This becomes the visual reference for subsequent video and campaign assets. Establishing a strong visual anchor early can improve consistency because later stages have a clear subject, composition, color direction, and environment to build from.
For products and characters, use reference images whenever appropriate. The goal is not simply to create a beautiful frame but to create a frame that contains the visual information the rest of the project needs to preserve.
Step 3: Animate only what needs movement#
Move the approved still into image-to-video and generate controlled motion. Do not regenerate the entire scene if the visual composition is already correct. Focusing the video prompt on movement and camera behavior can reduce unwanted changes to the original visual design.
Generate multiple short variations rather than trying to solve every possible movement in one clip. Select the strongest take, then build the next shot around the approved result. This makes the overall project easier to control and reduces unnecessary generation cost.
Step 4: Add audio layers separately#
Create music and voice independently so each layer can be adjusted without regenerating the visual asset. This gives the final edit much more control. If the narration changes, you should not need to recreate the video; if the music feels too busy, you should be able to replace it without affecting the visuals.
Keep dialogue, music, and supporting sound separate during production when possible. This makes balancing levels, timing transitions, and creating alternate versions much easier.
Step 5: Review the finished asset#
- Check visual artifacts and object consistency.
- Check product labels and brand details.
- Check voice pronunciation.
- Check music against dialogue.
- Check aspect ratio and crop.
- Check licensing and commercial-use requirements.
The review stage should happen at the same quality level at which the audience will experience the content. Inspect visuals at full resolution, listen to the complete audio mix, and check the final crop on the target platform. Small problems that are invisible in a generation preview can become obvious after export.
Why connected AI studios matter#
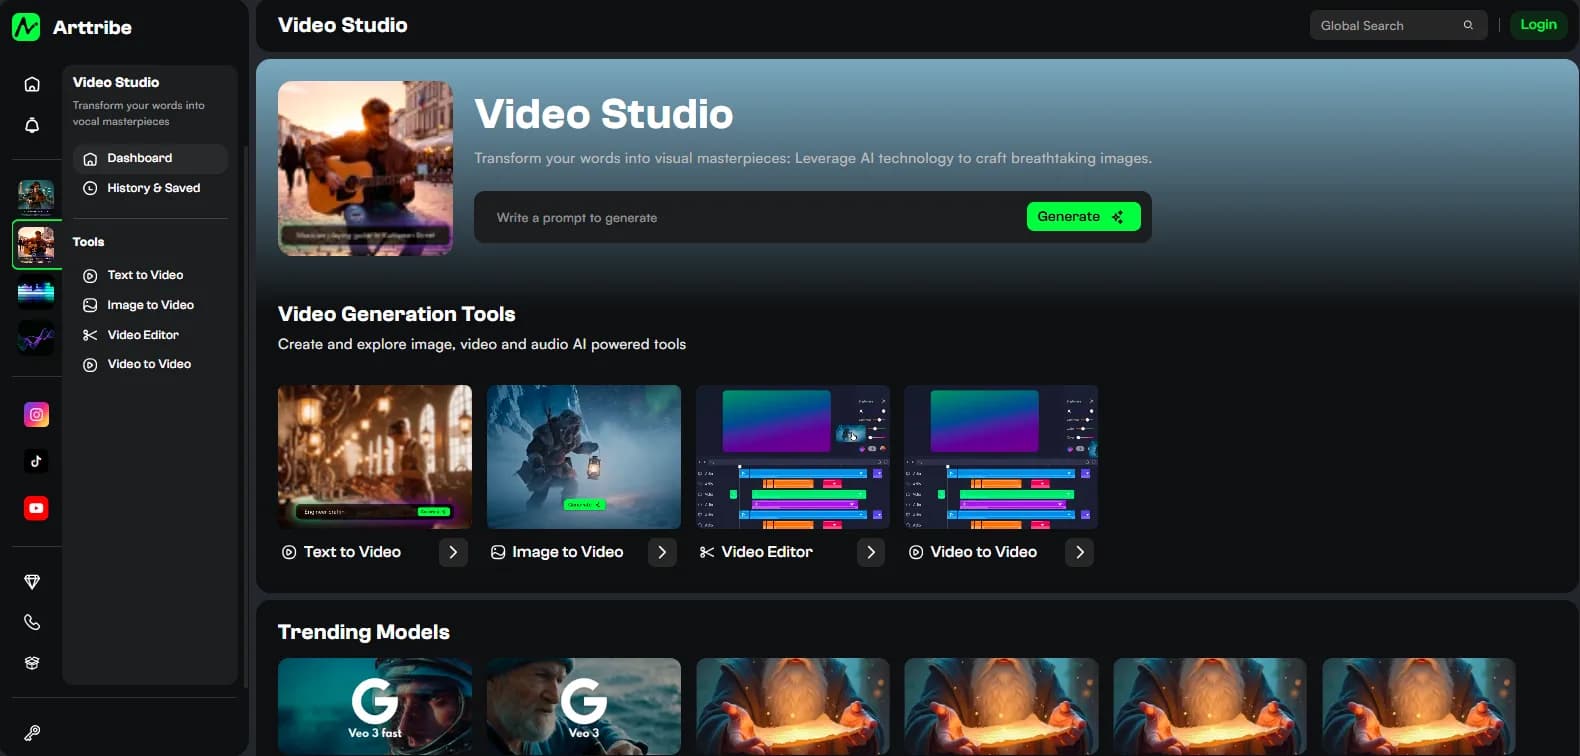
When image, video, music, voice, and editing are treated as separate tasks, every handoff creates friction. A connected AI studio reduces that friction and makes it easier to iterate on one layer without rebuilding the entire project. This is particularly useful when one approved asset becomes the input for several downstream creative tasks.
The goal is not to eliminate specialized models. Instead, a connected studio gives creators a consistent workspace while allowing the underlying generation engines to change according to the task. That combination of workflow consistency and model flexibility is what makes multi-model creative production practical.
Try this in Arttribe
Open the matching studio and run the workflow from this article.
Explore Arttribe